
|
FM TOWNS was sold about 30 years ago. Many surviving models have a dead internal CD drive. Some with dead FD drives. Since FM TOWNS was the world first consumer computer that came with a CD drive as a standard device, so many software titles were sold in the CD ROM, which is an advantage for preservation. On the other hand, since the CD drive was pre-standard, and therefore once the CD drive is broken, it is very difficult to find a replacement.
I have recently succeeded in booting directly from an external SCSI CD drive. But, it works only the model is one of FM TOWNS II models, and for some reason it doesn't work with the models with 386SX CPU (such as model UX). If your FM TOWNS is model2, 2F, or 20F, you are out of luck in this method.
If you are able to run an emulator like Tsugaru or UNZ, you can set up a bootable hard-disk image, and then write it to an SD card and, let actual TOWNS recognize it with a virtual SCSI drive such as SCSI2SD. But, the problem was TOWNS stores drive-letter assignments in its CMOS RAM, which is cleared when the backup battery depletes. You need to boot into Towns OS or DOS at least once to configure drive letters. Therefore, if your TOWNS had a dead FD and CD drives, you could not reassign drive letters and boot into Towns OS installed on a virtual SCSI drive.
To fill the gap, I have developed a boot loader for booting a TOWNS with dead CD, dead FD, and CMOS cleared, solely from a virtual SCSI drive. This boot loader is also capable of booting a TOWNS app in the SCSI CD drive. This method should be able to save TOWNS 2F and 20F. I have tested this method with my 2F, HR, and MX. It should work with all other models except 386SX models. The very first model, FM TOWNS model2, will require SCSI expansion card. The point is you can resurrect a TOWNS with the devices that you can still buy.
You can follow the steps below. You need Python to run the partition-transplantation script. I don't like Python but it is easier than explaining how to compile a C++ source and run. So, I am reluctantly using Python.
1. Install TownsOS in a hard-disk image using an emulator such as Tsugaru or UNZ. (I assume the hard-disk image file is TOWNSOS.BIN, and TownsOS is installed in D drive.)
2. Take a back up copy of TOWNSOS.BIN just in case.
3. Copy two files, HDIMAGE.BIN and transpart.py to the same directory as TOWNSOS.BIN. You can download the two files from the following URL.
HDIMAGE.BIN from https://github.com/captainys/FM/tree/master/TOWNS/IPL/DISKIMG
transpart.py from https://github.com/captainys/FM/tree/master/TOWNS/IPL/UTIL
4. Start a console program such as Power Shell, Command Prompt, or Terminal. Then CD to the directory where you have HDIMAGE.BIN, transpart.py, and TOWNSOS.BIN.
5. Type the following command and transplant the boot-loader partition to the Towns OS hard disk image. Also mark the boot-loader partition as the boot partition.
python .\transpart.py HDIMAGE.BIN RESCUE TOWNSOS.bin BOOTLOADER BOOT
6. Actually if you boot an emulator from this hard-disk image, you can see how the boot loader works.
7. Write TOWNSOS.BIN to an SD card using a utility such as Win32DiskImager. You should be extremely careful in this step! Make sure you are not writing to a wrong drive! I have seen too many tragedies in disk-image writing. Some by myself. My suggestion: Unplug all other external drives before writing an image. Ideally use a secondary (not your primary) PC to do this step to minimize the risk of wiping a wrong drive. No matter how easy the step is, human attention will never be 100%. You need to minimize the risk of catastrophe, and also prepare to minimize the damage in case of catastrophic failure. It is true in general in life.
8. Set up SCSI2SD. Please read SCSI2SD documentation for how to set up. Just for your reference, I put my settings below.


9. Connect the virtual SCSI drive with the SD card created in step 7 to TOWNS.
10. By the way, below screenshot were taken by Tsugaru, but it has been tested on actual TOWNS 2F.
11. Assuming that CMOS is dead, turn on TOWNS and wait a while until SYSROM tries to boot from SCSI2SD.

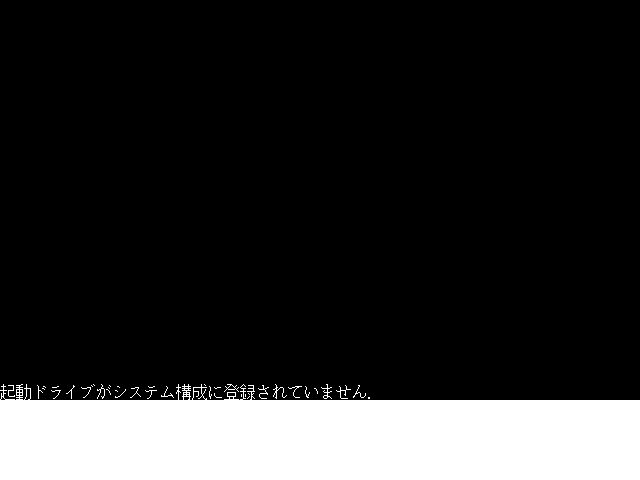
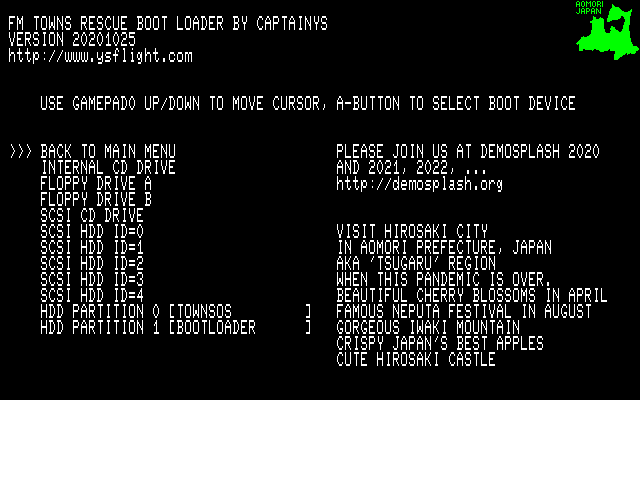
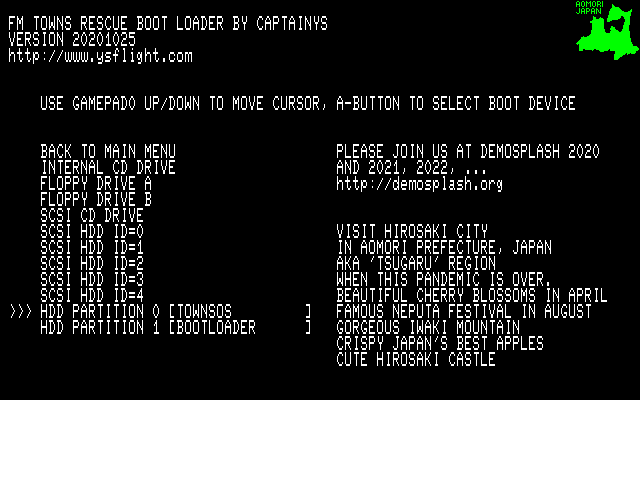
12. Choose "HDD PARTITION 0 [TOWNSOS]"
13. You will get an error, but it is expected. By this boot attempt, IO.SYS initializes the CMOS, and then you can configure drive letters in the next boot. So, wait until you see the following error message, and then push the reset button to start again. If you haven't replaced the CMOS battery, TOWNS will forget all these settings when you turn off the unit. I recommend to replace a battery, or you can go through this set up every time you start. Just a few added steps.
14. Select "BACK TO MAIN MENU"
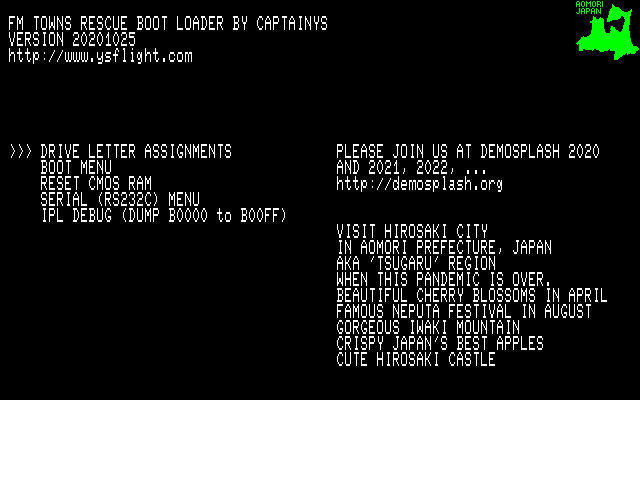
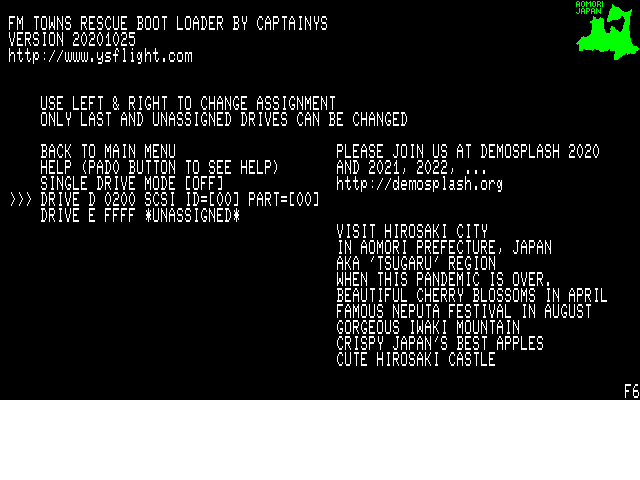
15. Select "DRIVE LETTER ASSIGNMENTS"
16. Use pad up and down to select a drive letter, and left and right to assign a SCSI ID to the drive letter. Press Right to increment the SCSI ID, and Left to decrement the SCSI ID. Pressing Left one more time after SCSI ID 0 will unassign the drive letter. If you selected SCSI ID 4 in the SCSI2ID configuration, press pad-left until [ID=4] is assigned to D drive.
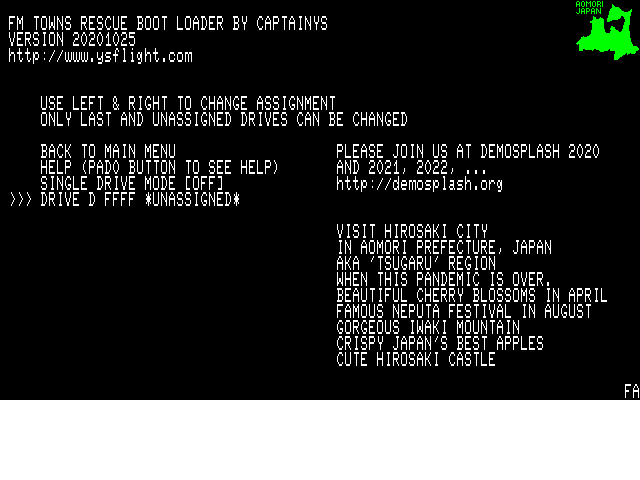
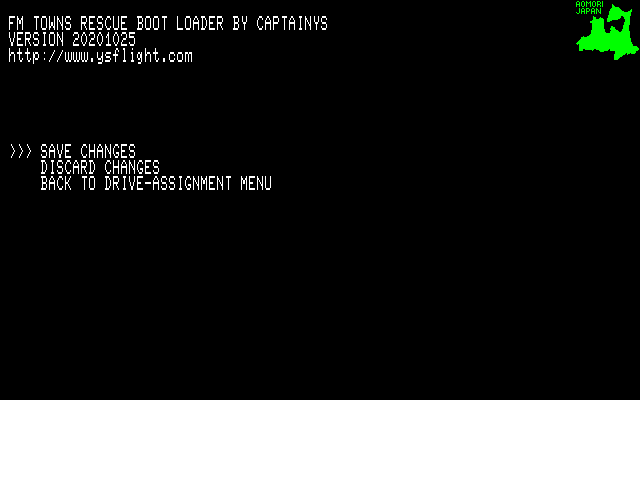
17. "BACK TO MAIN MENU" then "SAVE CHANGES"
18. Go back to BOOT MENU and start from TOWNS OS partition.
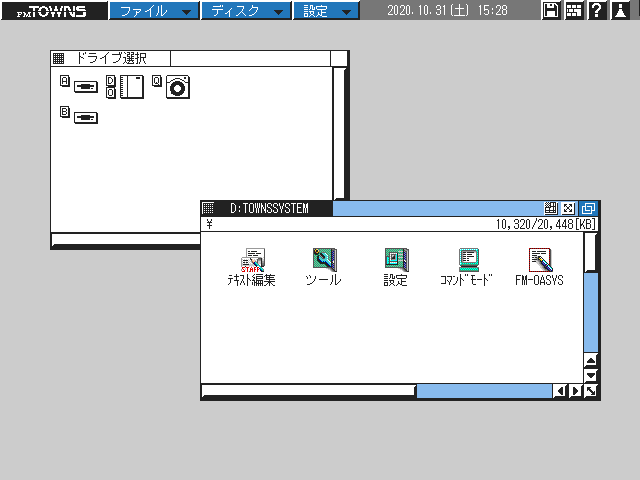
And Towns OS starts.
| Comments are welcome.
Send E-Mail to:
|